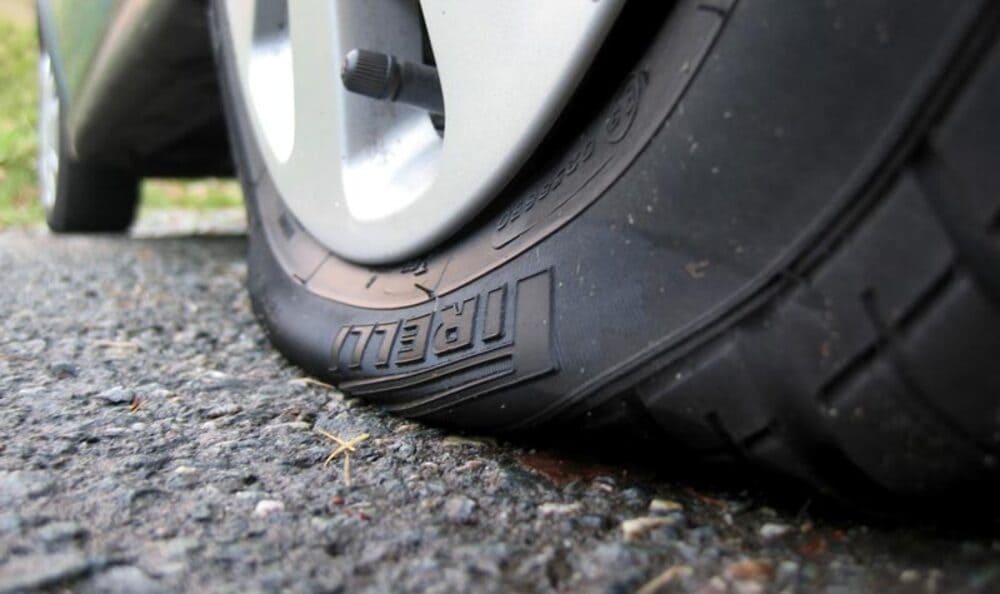
You’re going down the highway, and suddenly you hear a POP! You lose control of steering, and the car begins to bounce up and down rapidly. Desperately, you attempt to make it to the road’s shoulder and come to a stop. You have blown a tire. So what do you do? First and foremost, consult your vehicle’s owner’s manual—but for most vehicles, you can follow these steps.
- Get Somewhere Safe
The most important thing in this situation is your safety. When you realize that you have a blown tire, you’ll want to slowly and calmly get to the safest place you can—whether that be the shoulder of the road or a driveway, or a parking lot. Avoid hills, curves in roads, and narrow shoulders if at all possible. Do not expose yourself to oncoming traffic when changing a tire. Turn on your hazard lights as soon as you can to alert other drivers of your situation. - Prepare Your Vehicle
Once you’ve reached a safe location to change your tire, you’ll have to prepare your vehicle to change the tire. You’ll need to use the parking break so that the vehicle doesn’t roll. If you have wheel wedges, you’ll want to put them in front of or behind the tires you aren’t changing to help ensure the vehicle won’t roll. Next, remove the hubcap or wheel cover (if there is one) - Loosen Lug Nuts
The next step will be taking a wrench and loosening the lug nuts that are keeping the current wheel in place. Turning them counterclockwise will loosen them. It might be difficult, so don’t get discouraged if you can’t get them to budge right away. Don’t completely take them off yet, though! - Jack It Up
Place the jack under the vehicle. You’ll want to consult the owner’s manual to find out exactly where to place the jack, as every vehicle is a little bit different. Once the jack is positioned correctly, use it to raise the vehicle off the ground. You only have to raise it about six inches off the ground. As we said before, your safety is the number one priority here, so don’t ever put any body part under the vehicle at any point during this process. - Remove The Flat
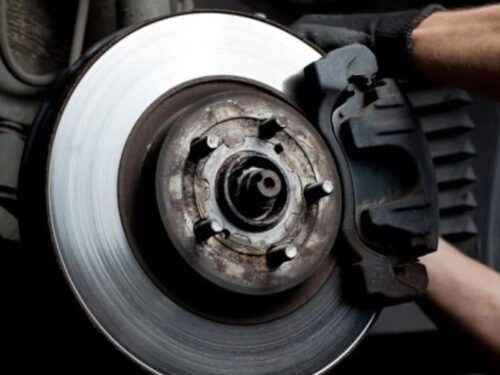
Unscrew the lug nuts you loosened earlier and place them somewhere you won’t lose them. Then gently pull the tire off of the hub and put it off to the side. - Replace With Spare
Take your spare tire and place it on the lug bolts. Push until the tire is securely in place. Next, take those lug nuts and put them back on their bolts. Tighten them as much as you can by hand. Don’t worry about getting the wrench out again until after you lower the vehicle off of the jack. - Lower The Vehicle
Lower the vehicle so that the tire is resting on the ground, but not so much that the entire weight of the car is on the tire. Tighten the lug nuts as much as you can with the wrench and then lower the vehicle the rest of the way. If you have a hubcap or wheel cover, now will be the time to put it back on, and stow all the equipment you used away. - Check the Pressure
Once you’ve successfully affixed the spare tire to the vehicle, you’ll want to check the tire pressure. Spares often require about 60 PSI in tire pressure. If your spare is less than this, you’ll want to drive with extra caution while making your way to the closest shop. - Bring The Vehicle In
You’ll want to carefully drive to the closest repair shop you can find. Spare tires are not designed to be permanent solutions to a flat or drive for long distances or at high speeds. You’ll want to get your car into a service station and get the problem fixed as soon as possible. Again—drive carefully, especially if tire pressure is less-than-ideal. - Prevent Future Blowouts
Learn from this experience: do all you can to avoid having a flat tire in the future. You can prevent this situation by keeping up on proper vehicle maintenance, rotating your tires, making sure they have the correct tire pressure and tread, and driving carefully. There’s no way to fully prevent a flat tire, but these tips can help.
Courtesy of aeroautoparts


